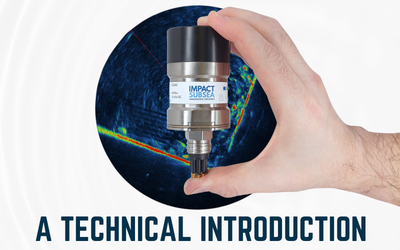
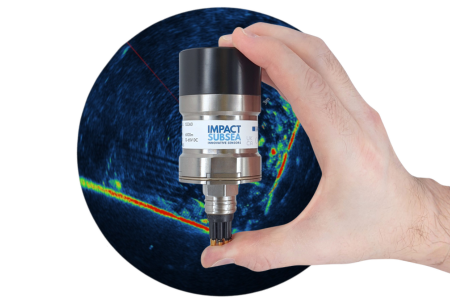
seaView V3 provides a cutting-edge user interface for the setup and operation of Impact Subsea sensors including our ISD4000 Underwater Depth Sensor.
Transcript
Hi! I’m Ben and in this video we’ll be looking at the ISD4000 Underwater Depth Sensor application in seaView V3. When you first run seaView V3 you’ll be presented with this screen here. On the left hand side you have a list of applications within seaView. On the right hand side you have a list of all communication ports on your computer and any network connections.
When you first run seaView, seaView will scan all communication ports and network connections to search for any Impact Subsea sensors. Any sensors detected are then shown in the middle of the screen here under devices. In this example here, an ISS360 sonar has been detected and also an ISD4000 Depth and Temperature sensor. If you look at the icon for the ISD4000 you can see we’re presented with some additional information such as the serial number of the sensor connected, the firmware version of that sensor and also how it’s connected to seaView. In this example we can see it’s connected via com port 5 and is connected at a baud rate of 115,200 baud.
ISD4000 Underwater Depth Sensor Application main screen
If you double click on the ISD4000 icon you’ll be taken into the main application. Once into the application you’ll find you’ve got depth measured and the depth reading top left hand corner and below the depth reading is the raw pressure reading from the sensor.
We then also have temperature and if you have an ISD4000 with integrated Heading, Pitch and Roll you also have heading pitch and roll and a little 3D model of the sensor all of which update in real time. If we take a sensor if we move it around you can see the Heading changes as it rotates and the Roll and the Pitch change as we move the sensor the little 3D model of the sensor updates in real time just to provide you a kind of ‘at a glance’ indication of how the sensor is sitting.
In the middle of the screen we have a graph which is depth over time, plotted away there.
ISD4000 Underwater Depth Sensor App Setup
If we look at the top left hand side of the screen the first button down is your settings button. If you click on this you’ll be taken into the the main setup page. From here the initial setup page you can enter in the latitude, of your area of operation, it’s useful to enter this as it’ll be taken into account when doing the pressure to depth conversion as it’ll take into account the local gravity in the area you’re working in.
You can apply any depth offsets, any pressure offset, you can tear the sensor immediately. If you click the ‘Tare Now’ and then click the ‘Ok’ button it basically zeros the depth and you can see the depth has been zeroed in the top left hand corner. If we go back into the settings again, you can also apply a filter to the pressure, this is an averaging filter.
Calibration
You can also from this window carry out a pressure calibration and a temperature calibration. To carry out a pressure calibration you’ll need a high accuracy atmospheric pressure sensor combined with a dead weight tester and associated weights. For the temperature calibration you’ll need a number of temperature baths each at a set temperature.
Connection
The next settings window to go into is the ‘Connection’ window. From here you can set the serial communications mode of the sensor which can be RS232, RS485 or RS485 Terminated and you can also set the baud rate required on the sensor together with the word length, parity and number of stop bits.
ISD4000 Underwater Depth Sensor Output string
This next window allows you to set up the output string from the ISD4000. This is the output string for the depth and pressure. There’s a number of standard Impact Subsea strings and also number of strings from other sensors as well. These are all documented fully in the ISD4000 manual.
If there’s a string you require which isn’t present you can use the custom button to either edit a string or add an entirely new ASCII output string to your own configuration. This makes ISD4000 really simple and really easy to integrate with third-party systems.
In the same window you can also set up how many times per second to output the string and you can also set up any interrogation strings you require, tare strings and un-tare strings.
You can set exactly the parameter that you want the ISD4000 to respond to for each of these interrogation commands.
AHRS settings
If you have an ISD4000 with integrated AHRS, providing Heading, Pitch and Roll, you’ll also have AHRS settings and AHRS output. If you click on the AHRS settings tab, from here you can set up everything to do with Heading, Pitch and Roll. You can initially set the orientation so the default is connector facing upwards pressure port facing downwards. We can set it to be inverted or you can set any offsets on the Roll or the Pitch. And this will essentially provide you with an accurate reference point for your Pitch and Roll and Heading readings.
Once installed on the vehicle you can also make any minor adjustments to the Heading, Pitch and Roll values to account for minor inaccuracies in installation. You can also set up a magnetic declination
offset, turn initial mode on and off, calibrate your magnetometers and configure your turns counter from this window.
AHRS output string
If we look at the AHRS output from here you can select a number of Impact Subsea strings or again a number of industry standard strings or like with the Pressure and Depth output string you can also create your own custom string. From here you can either edit one of the standard strings or you can create an entirely new string to suit your application. And again you can select the the rate at which you want the string to be output; or if you want to interrogate string you can set up a interrogation value for it.
ISD4000 Underwater Depth Sensor Record log file
Once you’ve finished configuring the ISD4000 Underwater Depth Sensor, clicking the green tick ‘Ok’ button will save all the settings to the firmware and they will remain there until the sensor is next connected to seaView and the settings are changed again, regardless of power cycles.
Going back to the main screen. Looking on the left hand side you can record a csv file which will give you all the readings from the ISD4000 Underwater Depth Sensor, saved into a log file, along with a timestamp and in terms of the graph you can clear the graph and you can also set up display options.
ISD4000 Underwater Depth Sensor Display options
You can set what you want to have displayed on screen. For example you could turn off the Temperature, the Pitch, Roll and Heading and just have the Depth and Pressure, a little 3D model of the depth sensor. Or you can turn these back
on, or maybe with the turns counter as well, really just to suit your application setup.
That’s the ISD4000 application in seaView Software V3, if you have any questions regarding this please do not hesitate to contact us at support@impactsubsea.co.uk
Take a look at the ISD4000 Underwater Depth Sensor Product Page: ISD4000 Depth Sensor
Watch seaView Software overviews on our other sensors: YouTube playlist