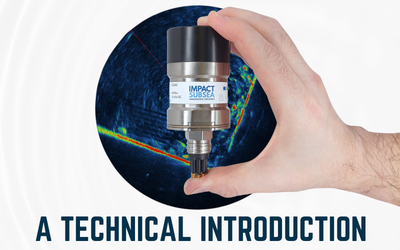
seaView V3 provides a cutting-edge user interface for the setup and operation of Impact Subsea sensors including our AUV/ROV Sonar.
AUV/ROV Sonar – seaView Software Introduction
Transcript
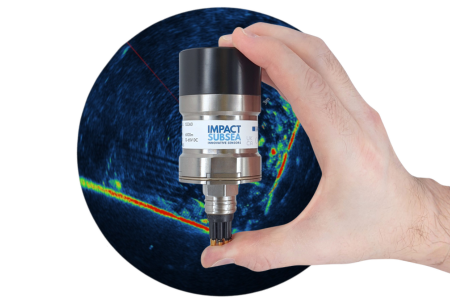
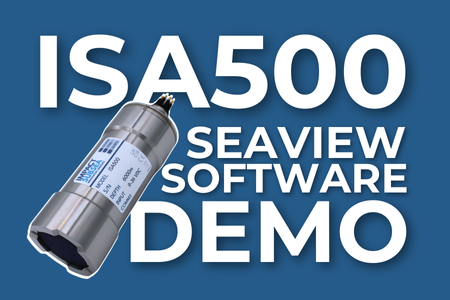
Hi! I’m Ben and in this video we’re looking at the ISS360 AUV/ROV Sonar, software application in seaView V3.
When you first run seaView V3 you’ll be presented with this screen here. On the left hand side you have a list of the applications in seaView on the right hand side you have a list of all the communication ports on your computer and in the middle you have a list of any sensors that have been detected.
When seaView is first run it will automatically scan every com port at every known baud rate and will also scan your network to see if there’s any Impact Subsea sensors connected. In this instance it has detected two sensors – we have an ISA500 altimeter and also the ISS360 AUV/ROV Sonar.
The icon for each of these gives a little more detail about the connected sensors for example on the ISS360 AUV/ROV Sonar we can see the serial number the firmware version and also how it’s been connected in this instance we can see it’s been connected over the network and it’s displaying the IP address of the sonar.
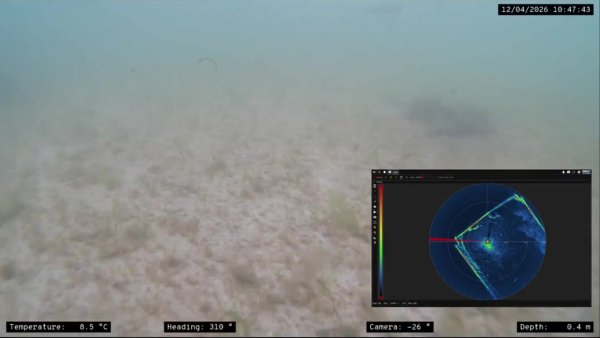
Double-clicking on the sonar icon will take you into the ROV sonar app and the sonar will automatically start to scan. In this example we have a sonar running in the Impact Subsea test tank which is roughly a two meter diameter circular test tank and we can see that on screen showing up there.
In the middle of the screen we have the main sonar display on the right hand side, if you have a sonar with integrated pitch and roll, you get the pitch and roll readings and you also get a little graphic of the sonar showing any motion that is experiencing.
We also have a colour chart on the left hand side here so you can change the the colour palette of the sonar to suit your own preference. We typically use this kind of multicolour going from black to blue to green to yellow to red. This bar you can also lift up the lower red rectangle and this will remove all the weaker returns from the display as I move it up you can see only the stronger returns are left on the screen.
As I move it down it’ll start to include the weaker returns as well. Pushing it all the way to bottom means that all the returns will be shown on screen. There’s also a little red rectangle at the top of this this bar if you pull that down it’ll compress the bar and increase the contrast on the screen so pulling it down really far will make a very noisy solar image and really show all the strong returns very vividly and moving it up will decrease the contrast and just show it in its more normal state.
Down at the bottom of the screen we have a gain bar which is currently set to 35. If you increase that it’ll apply more software again to the sonar imagery if you decrease it it’ll remove the gain and essentially you want to set that to a level where you see everything you want to see and you remove any excess noise from the imagery.
The next item down the bottom of the screen is your range setting so you can decrease this to look closer in, down to one meter or you can increase this look further out anywhere up to 100 meters. As we’re working in a two meter tank we’ll just set it down to two meters.
You then have a selector which runs speed to quality and this sets the step size of the ISS360 AUV/ROV Sonar. If we set it to speed the sonar will take a very large step size between pings it will scan round very quickly if we move this bar more towards quality we slowly reduce the step size so it takes finer and finer steps and gives you a finer and finer resolution.
This comes with a trade-off in scanning speed so depending on your application you might want to set it to scan very quickly if you’re moving quickly or navigating underwater and if you get up to a target and you want to identify that target you can move this up to higher quality and get a higher resolution and better understanding of what you’re seeing.
AUV/ROV Sonar Acoustics setup
That’s the basic AUV/ROV Sonar interface, now to go through some of the more advanced features in the top left-hand corner we have a settings button and if you click on settings you’ll be presented with this screen here.
The first settings tab which pops up is your acoustic parameters. Now by default we leave this set to auto. This means as you adjust the range the sonar will automatically update the acoustic parameters to give you the best range and resolution capabilities.
If you don’t want to use this auto feature you can deselect this box and you can edit the start and end frequencies for doing a CHIRP or you could make them both the same if you want to do a continuous wave transmission from the sonar.
You can select the pulse length and also the pulse amplitude but for the majority of applications we recommend this is left to auto and just leave the sonar to determine the best settings for your range setting. You can also set the speed of sound here and you can also invert the sonar image here.
This is quite useful by default the sonar is intended to be run with the black boot end upwards and the connector downwards. If you’re running it the other way up so the boot end down, connector up, click the ‘Invert Sonar Image’ and it’ll just make sure that your your lefts and rights are correct on screen.
AUV/ROV Sonar – Connection
The next setting option we have is your connection, so here you can change the serial mode from RS232 to RS485 or RS485 Terminated and you can also select the baud rate. You can also use this window to set up your your network properties of your IP address, netmask and gateway. You can also enable DHCP if you require this.
Lastly if you have an AUV/ROV Sonar with ARS you’ll have the AHRS settings page. In here you can tell the sonar how it’s been mounted whether it’s the default value whether it’s inverted, whether it’s on its side and this will just ensure that your pitch and roll readings are all accurately referenced you can also input any minor offsets to account for installation error of the sonar.
You can also do a calibration of the magnetometer and select which axis the turns counter counts around whether it’s your Heading your Pitch or your Roll. Once you’ve changed any settings in here as soon as you click the green tick ‘Ok’ button these will be saved to the sonar firmware and those settings will be saved forever more regardless of power cycles.
The only time they’ll get changed is when you go back into seaView, connect to the sonar, make a change and click ‘Ok’ again. If you don’t want to apply the the changes you’ve made just click the the ‘Cancel’ button.
AUV/ROV Sonar – Bins and sector scan
Going back to the other options on the left hand side one is your bins and sector. Bins set to auto basically means it will take a number of samples in each ping to fill every single pixel on screen.
You can then set the AUV/ROV Sonar to a full 360 or you can set it to do a sector scan. Now setting it to a sector scan is very useful if you’re using it on an ROV and you want to look dead ahead or to the side or behind the vehicle and only update that one window.
You can also set the start and stop points of that window so you can narrow it down, you can make it wider it’s totally up to you to how you set that window.
You can also enable flyback. Now if you click on flyback the sonar will scan from the left to the right and then it’ll very quickly fly back scan from the left to the right. If you disable flyback it’ll scan from the left to the right and then it’ll scan from the right to the left so it’s really your preference and how you want the sonar to scan.
At any point you can click the full 360 and we’ll go back to doing a full 360 scan. At any point you can pause the sonar and start the sonar going again. You can reverse the direction of the scan using this button; this is quite useful if you see something moving in the water and you just want to temporarily scan back and forth across that target to track it or see what’s happening there.
AUV/ROV Sonar – Record a log file
You can record a log file if you want to record everything that’s happening for playback later on. You can open it using this button at any point you can clear the screen just to get rid of the historic data and it will start updating the screen again.
You also have a display button and this button can be used to turn on and off different features of the display for example we can turn off the range from the display, you can even turn off the scan line, the grid etc and you can turn things back on like heading around the sensor. You’ve got quite a few few options there.
You also have a reset view here so if you’ve used the mouse or used the zoom buttons here to zoom in and move around the screen to see something more detail you can use this reset button here to put it back to default. You can zoom in zoom out, you can use this feature here to take measurements, so you just click it and then you just click and drag on screen you take any measurements of the sonar imagery.
If you want to measure a target to understand it’s size it’s nice and quick and easy to do that. Again clicking the measurement will turn that off again.
There’s also a feature to add markers on the screen so if you see something of interest you can click on screen add a marker to it using the left mouse button and clicking the right mouse button will take that marker away. You can add multiple markers on screen if you wanted to highlight something to another user or just have them there to reference
That’s the ISS360 application in seaView Software V3, if you have any questions regarding this please do not hesitate to contact us at support@impactsubsea.co.uk
Learn more about how our ROV sonar works in this in-depth technical guide
Take a look at the ISS360 Product Page: ISS360 Imaging Sonar
Watch seaView Software overviews on our other sensors: YouTube playlist