seaView V3 provides a cutting-edge user interface for the setup and operation of Impact Subsea sensors including our underwater AHRS.
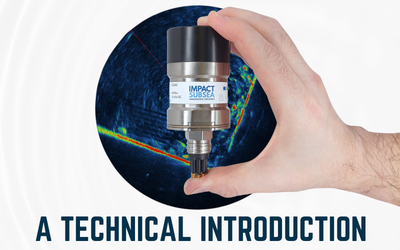
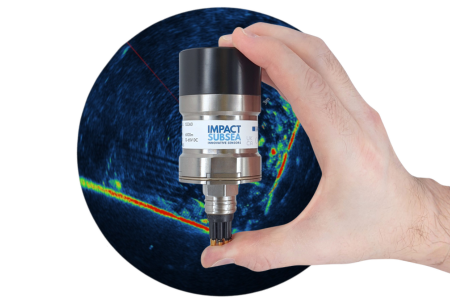
Underwater AHRS – seaView Software Introduction
Transcript
Hi! I’m Ben and in this video we’re going to look at the ISM3D application in seaView V3.
When you first run seaView you’ll be presented with this window here. On the left hand side of the window we have a list of applications within seaView. On the right hand side of the window we have a list of all the communication ports on your computer and network connections.
In the middle of the screen are any devices or sensors that have been automatically detected. When seaView is first run it scans every com port, at every known baud rate, and your network connections, to find any Impact Subsea sensors that may be connected. This way they automatically show up.
In this instance here we have two sensors connected. We have the ISS360 sonar and the ISM3D sensor. If you look at the icon for the ISM3D you can see you get a number of extra bits of information such as the serial number, the firmware version and also how it’s connected. In this case we can see it’s connected via com port 5 at 9600 baud.
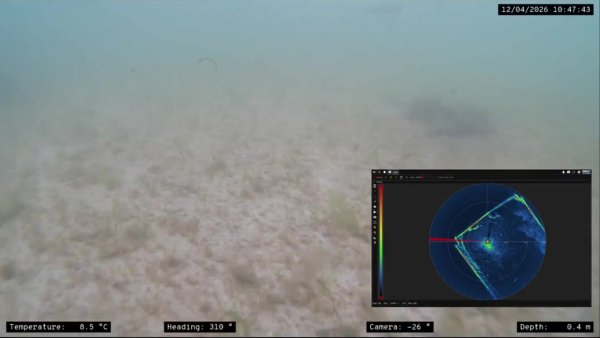
ISM3D application main screen
Double clicking on the ISM3D icon will take you into the ISM3D app. When you first enter the app you’ll find a display same as this. In the top left hand corner you’ve got your Heading and then you’ve got your Pitch and your Roll and you have a little graphic of the ISM3D.
In this instance here I’ve got the sensor with me here. You can see as I rotate it you can see the heading change and if I pitch it and if I roll it and pitch it you can see all the the values change there and the 3D model updates in real time to give you a good indication just, at a glance, how the sensor is sitting.
In the middle of the screen we have a graph of Heading, Pitch and Roll updating over time so you can see any movements in the centre and how it’s graphed.
Connection settings
On the left hand side of the screen we have a number of buttons the top one being the settings button if you click on that it’ll bring up the ISM3D settings page and the first page you’re taken to is the Connection page from here you can set the serial communications mode so this can be RS232, RS485 or RS485 terminated and you can set the baud rate of the sensor. You can also set the word length, parity and the number of stop bits.
Setup window
Moving on to the next window, the setup window, this contains most of the settings for configuring the Heading, Pitch and Roll side of the sensor. Initially you can select the orientation, so the default orientation is to have the sensor mounted like this with the connector facing upwards.
You can also set it to be inverted or you can set it to be pitched or rolled over to suit how you’ve installed it on your vehicle. You can also input minor offsets on the Heading, Pitch and Roll to account for any inaccuracies in mounting on the vehicle. You can also set up any magnetic declination offsets and you can enable or disable inertial mode. You can calibrate the magnetometers and you can set up your turns counter from this window.
Output string
The last tab in the settings is the output string. When not running into the seaView software you can select the output string that the sensor should output. This is the ASCII string. There’s a number of Impact Subsea strings which are detailed in the ISM3D manual and there’s also a number of other industry standard strings allowing the ISM3D to emulate pretty much any other Underwater AHRS sensor in the market.
If you require a string which is not in there already you have the option to implement a custom string, where you can create a new string, copy a string and edit it, basically create an output string to exactly meet your requirements.
You can then enable the output string and define how many times per second it should be output and you can also enable the interrogation string and this is basically if you want to command an output string from the ISM3D.
When you click the green tick ‘Ok’ button all these settings will be saved to the ISM3D firmware and they will remain there forevermore regardless of power cycling until you next go into seaView and connect to the ISM3D and make another settings change. If you don’t want to apply any of the settings changes that you’ve made just click the ‘Cancel’ button.
Recording Underwater AHRS Readings
Going back to the main screen again we’ve covered the settings and the next one is record so if you click this button it’ll record and time stamp all of the readings from the ISM3D to a csv file and there’s also a clear graph button if you click this it basically wipes the graph and it’ll start updating again.
Underwater AHRS Display options
There’s also display options button and if you click this you can decide what you want to have on screen at any one time. For example you could turn off the graph, you could turn off the 3D model, so you just get Heading, Pitch and Roll, or you could turn them back on. You could also enable the turns counter and that will count the number of turns around whichever axis
you’ve defined – Heading, Pitch or Roll.
Graph options
One other thing I’ll show you, here on the right hand side of the screen you’ve got a graph option button. If you click that you can change a number of display properties of the graph on the screen and you can turn off the fill, you can invert x or y axis, you can have points for every single reading that it’s taken, basically set up a display to match what you’d like to see on screen.
That’s the ISM3D application in seaView Software V3, if you have any questions regarding this please do not hesitate to contact us at support@impactsubsea.co.uk
Take a look at the ISM3D Product Page: ISM3D Underwater AHRS
Watch seaView Software overviews on our other sensors: YouTube playlist