seaView V3 provides a cutting-edge user interface for the setup and operation of Impact Subsea sensors. The launch of seaView V3 is accompanied by the release of a third generation of sensor firmware.
ISFMD seaView overview – Transcript
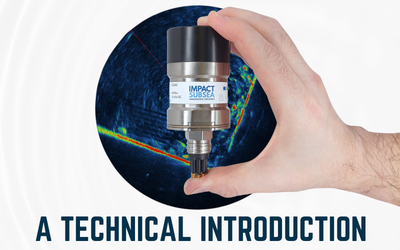
Hi I’m Ben and in this video we’re looking at the Impact Subsea Flooded Member Detection System and seaView V3.
Once you’ve installed seaView V3 either by downloading it from our website or from the USB drive supplied with the ISFMD System you’ll have the seaView icon on your desktop.
If you run seaView you’ll be presented with this screen here. Now on the left hand side we have a list of all applications within seaView. In the middle of the screen we have a list of any sensors that have been detected by seaView. On the right hand side we have a list of any communication ports on your pc.
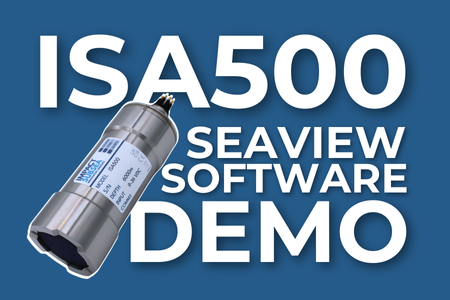
When seaView is first run it will automatically scan all communication ports, at every known baud rate and pick up any sensors connected to your computer. In this example here, the software has picked up an Impact Subsea ISS360 sonar and also the ISA500 FMD probe.
Installing the ISFMD licence
For the purposes of flooded member detection we want to click on the ISA500 probe and we want to click on the ISFMD app in the bottom left-hand corner of the screen. When you do this, you’ll be presented with this screen here.
Initial running you’ll have a warning pop-up which basically states that this application requires a license in order to be operated. You can install your license either by clicking on the warning or by clicking on the settings button in the top right hand corner of the screen.
If we click on the warning that’ll take us to the installation page for any licenses. The license file will be provided on the USB drive which came with the system so if you insert the drive and click browse you’ll be able to find the file.
Click open and the file will automatically be installed. Once you click close that’s the license installed in seaView and you won’t ever have to do this again, it’s a one-time operation. Now we’ve done that, the warnings disappeared and the system is now ready to be used.
Application main screen
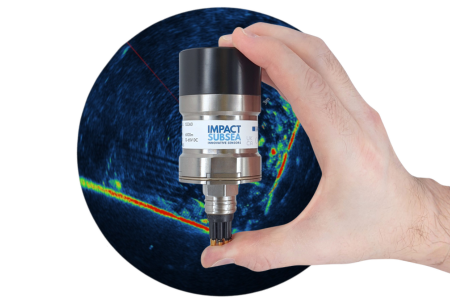
To talk through the application itself; on the top left hand corner we have a little 3D model of the ISFMD probe. If I take the ISA500 ISFMD probe and move it around you can see on screen it moves in real time, as I move the probe.
This is really useful for whoever is operating the software, they can see exactly how the the probe is being held, either by the ROV or by the diver. Thanks to the 3D model, we have a little visual graphic of the ISA500 probe, with the ping button below it.
In this graphic here the probe is shown pushed up against a member. We’ve got a cross cut of the member which shows the the green acoustic beam going from the ISA500 probe, through the member and hitting the the back wall of the member.
We also have a blue box around the back wall of the member and this is the area in which the system will be looking for any returns which would suggest a flooded member. On the right hand side it gives you an estimated fill which will either be dry, part filled or flooded.
The lower, left-hand corner we have a list of members which we’re going to test. In the middle of the screen we have the details of the member which is currently under test and the lower right hand side we have a list of all the readings we’ve taken so far.
Set up first member
The first thing to do is to set up the first member so we’ll give it a name and we’ll just call this test member.
The next thing to do is to ensure that the diameter of the member has been correctly entered into the software. This is the most critical item to enter into the software and make sure you’ve got it correct. In this example we’ve got a relatively small diameter member so we’ll set it’s diameter as 0.21 meters / 21 centimeters.
It’s important to set the correct diameter or a reasonably close approximation of the diameter as this sets the area in which the software will look for a return which would suggest the member is flooded or dry. Next is to set up the transmit power and this is just the the amplitude of the transmitted pulse from the ISA500 probe. This is quite a small member diameter we’re going to drop that transmit power down to 20 percent.
Next you can set the speed of sound. By default this is the speed of sound in water. If you suspect the member under test is going to be filled with something else, such as an hydrocarbon which may have a different speed of sound you can enter in the expected speed of sound there.
You can then set up the member angle. You can set up the length of the member and you can also set up the end depth of the member so you get a visual representation of the member under test.
At this point we’ve set up the member, it’s all correct, it’s good to go. We can go ahead and place the ISA500 probe up against the member itself. When you do this, you want to make sure the probe is touching the member and you want to make sure that any spot cleaning has been carried out beforehand so the member surface is clean and you get a good contact with the probe. If we move the probe into position and click ‘Ping’.
In this example we’ve got a flooded member; I’ve clicked ‘Ping’, the sound has gone from the ISA500 probe into the member, it’s hit the back wall and it’s been reflected back again and detected by the ISA500. We can see the returning echo there, shown on screen. We can see the software is basically highlighting it’s a flooded member.
Add Readings
I’ll return it 0.23 meters and at this point if we’re happy with that reading we can click ‘Add Reading’ so it’ll save the reading. At this point we can say how far along the member it was. We can tell the position that we took that reading at so it could be 0 to 360 degrees around the pipe. Let’s say it was at 45 degrees.
We can then move the probe along to another part of the pipe and take another reading. We still get a flooded example, we can add this reading here. Say this is at two meters along the pipe, again 45 degrees. You can basically work your way along the the member, taking as many readings as you require.
If we move the probe to a section of the pipe where it’s not flooded, where it’s dry. We click ‘Ping’ now, we get no return coming back to the probe and the software is estimating that this is a dry section, it’s not heard any return back so it’s dry. At this point we can click ‘Add Reading’. State where along the pipe it was and we can see that being added to the pipe or the member mimic there. You can see we’ve got a couple of flooded readings and we’ve got one dry reading at the top.
Complete ISFMD test
Once you’ve conducted all the tests you’ll want to conduct on the member, you can click the ‘Test Complete’ button and that just marks it as complete there and also marks as complete in the members list. You can also add in any notes. These notes will just be stored in the final report so if there’s any observations or anything you want to note for anyone else to know, it’s a useful place to note them.
We can then go and add another member and we can set up that member’s name and we can set the diameter of that member along with the transmit power required etc. Then we can go through the tests again, add all the readings want to read and then complete the member. You can keep adding members manually, one at a time, if you want and just do that as you go.
Preconfigure Members
The other option is, prior to actually commencing an offshore project, you can add in a whole lot of members and you can pre-configure every single member and if you click this ‘save button’ on the left hand side of the screen it’ll basically save that list of members, all their diameters, transmit powers, their names etc. So you’ve got a fully populated list and once you get offshore you can just go and load the member list back in.
If I go and load a member list in just now, one that I created earlier, it goes to desktop, remember list so it’s loaded in a list of about six members that I’ve pre-configured there. It’s got the member names and you can skip through them and you can see the settings change for each one. That’s just a very quick way to pre-configure everything so once you actually get to the project you can quickly just work through members one by one and you’re not having to set up each one individually as you go.
ISFMD Reports
Once you’ve run through all your members and you’re happy with all your readings, they’re all complete, you can click the ‘report button’ here and clicking the report button will save all readings to an html file which you can then open and view in any browser.
To give you an example, there’s a test here which I did earlier. If I open the html file you can see the report, the date and then it’ll basically list all the members you’ve tested along with the member configuration and any readings that were there when the member was tested.
That’s the ISFMD application in seaView Software V3, if you have any questions regarding this please do not hesitate to contact us at support@impactsubsea.co.uk
Take a look at the ISFMD Product Page: ISFMD Flooded Member Detection
Watch seaView Software overviews on our other sensors: YouTube playlist