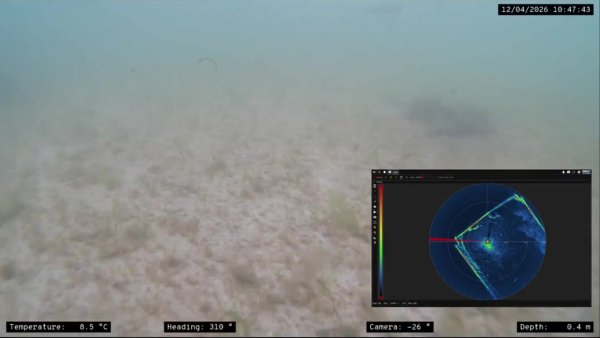
The Flooded Member Detection System – ISFMD is used to determine the presence of liquid in a pipe/member/structure underwater. Further technical information, including operation manual, can be found on the ISFMD page.
Transcript
Hello welcome to the flooded member detection system from Impact Subsea.
What’s in the Flooded Member Detection Box?
Let’s have a look inside the box and see what there is. The first thing we have is the cable reel which can be provided in 100 and 200 meter lengths. Next we have the Flooded Member Detection probe holder, then this transit case. The transit case contains the Flooded Member Detection probe.
The Flooded Member Detection topside interface box along with a USB cable and power supply, retention screws for the FMD prop holder, a subsea whip is provided for ROV integration. A spares kit, a Quick Start Guide which details the pin outs of the FMD probe and a USB memory stick which contains the software and manuals.
How to Assemble the Flooded Member Detection System?
Let’s see how all this is put together. There are a couple of additional tools you will require these are a three millimeter allen key or hex driver, some connector grease and a small piece of cloth or blue roll.
The first step is to spool off a length of cable from the cable reel but to do so we need to release the brake. On the side of the cable reel there is a handle which is usually facing inwards to the main body. Simply locate the wing nut underneath the handle, unscrew it, turn the handle around then re-tighten.
This will give you access to the braking mechanism. Find the metal clip behind the handle and lift up to release the brake. You can then leave this clip to dangle by its retention cord. We can now un-spool a small length of cable. Next, we take the FMD probe holder and insert the cable through the smaller of the two holes. Before we connect the FMD probe however we now need to wet the connector taking the tube of connector grease pack the subsea end with grease.
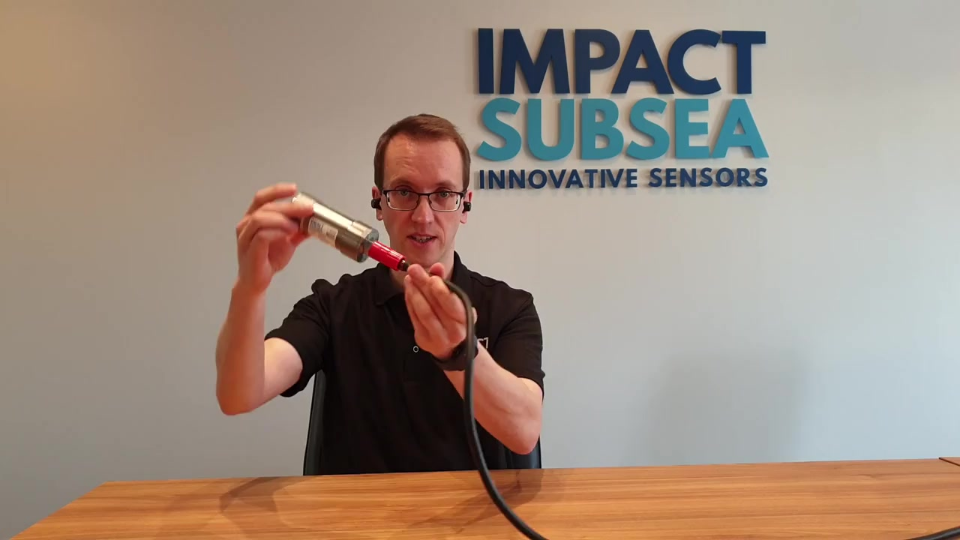
Next we take the FMD probe and ensuring the correct orientation, push the two things together. This will force out some connector grease so taking our cloth or blue roll clean this up. We can now secure down the red locking sleeve just so it’s hand tight.
The FMD probe can now be slid back into the probe holder taking care to ensure that the flats of both the probe and the probe holder line up. We now need to take one of the retention screws from the two provided and place it into the retention screw hole on the FMD probe holder. This is then secured using our three millimeter allen key again this just needs to be hand tight.
The FMD probe will be held nice and snugly within the probe holder. We now need to take off a length of the topside cable from the cable reel. The topside cable is located at the same side as the braking mechanism on the cable reel. Simply un-clip it from the metal clips that surround the rim of the cable reel, until you have a length that you require.
We can now take this cable and plug it into the FMD topside interface box. Remove the protective covers from the two ports. The topside cable from the cable reel plugs into port marked ISA500. Ensure that the orientation of the cable matches that of the port itself. There are some little key marks to make sure that this cannot be put in the wrong way around. Simply push the cable connector onto the port and rotate the locking sleeve into snap shut. Now we can take the power supply and place it on to the port marked power.
As with the previous port there’s also some key marks to make sure it cannot be fitted around the wrong way so push fit and together and rotate the locking sleeve until it snaps shut as well.
Finally we can notate the USB cable and plug this into the FMD top sight interface box. Using the squarer of the two USB connectors, plug it into the port marked USB and make sure it is secure. This completes the system assembly and we’re now ready to install the software and fire the system up.
For more information please visit our website or our social media pages. Thank you very much for watching and we hope to see you again.
That’s the ISFMD assembly, if you have any questions regarding this please do not hesitate to contact us at support@impactsubsea.co.uk
Take a look at the ISFMD Product Page: ISFMD Flooded Member Detection
Watch more films on the FMD System: YouTube playlist